ITEMS USED
Distress ink and Stain in Tumbled Glass
Brick and Square Honeycomb Stencil by Clarity
Stamps by Clarity; Word chain no 5, Edelweiss, Cow Parsley and Quirky Gate
Grunge Paste
Theuver Card by Clarity
Glossy Accents
Versa-mark ink pad
Clear Embossing Powder
Small mdf heart
White cotton seam binding
Bakers Twine
Treasure Gold in Sapphire
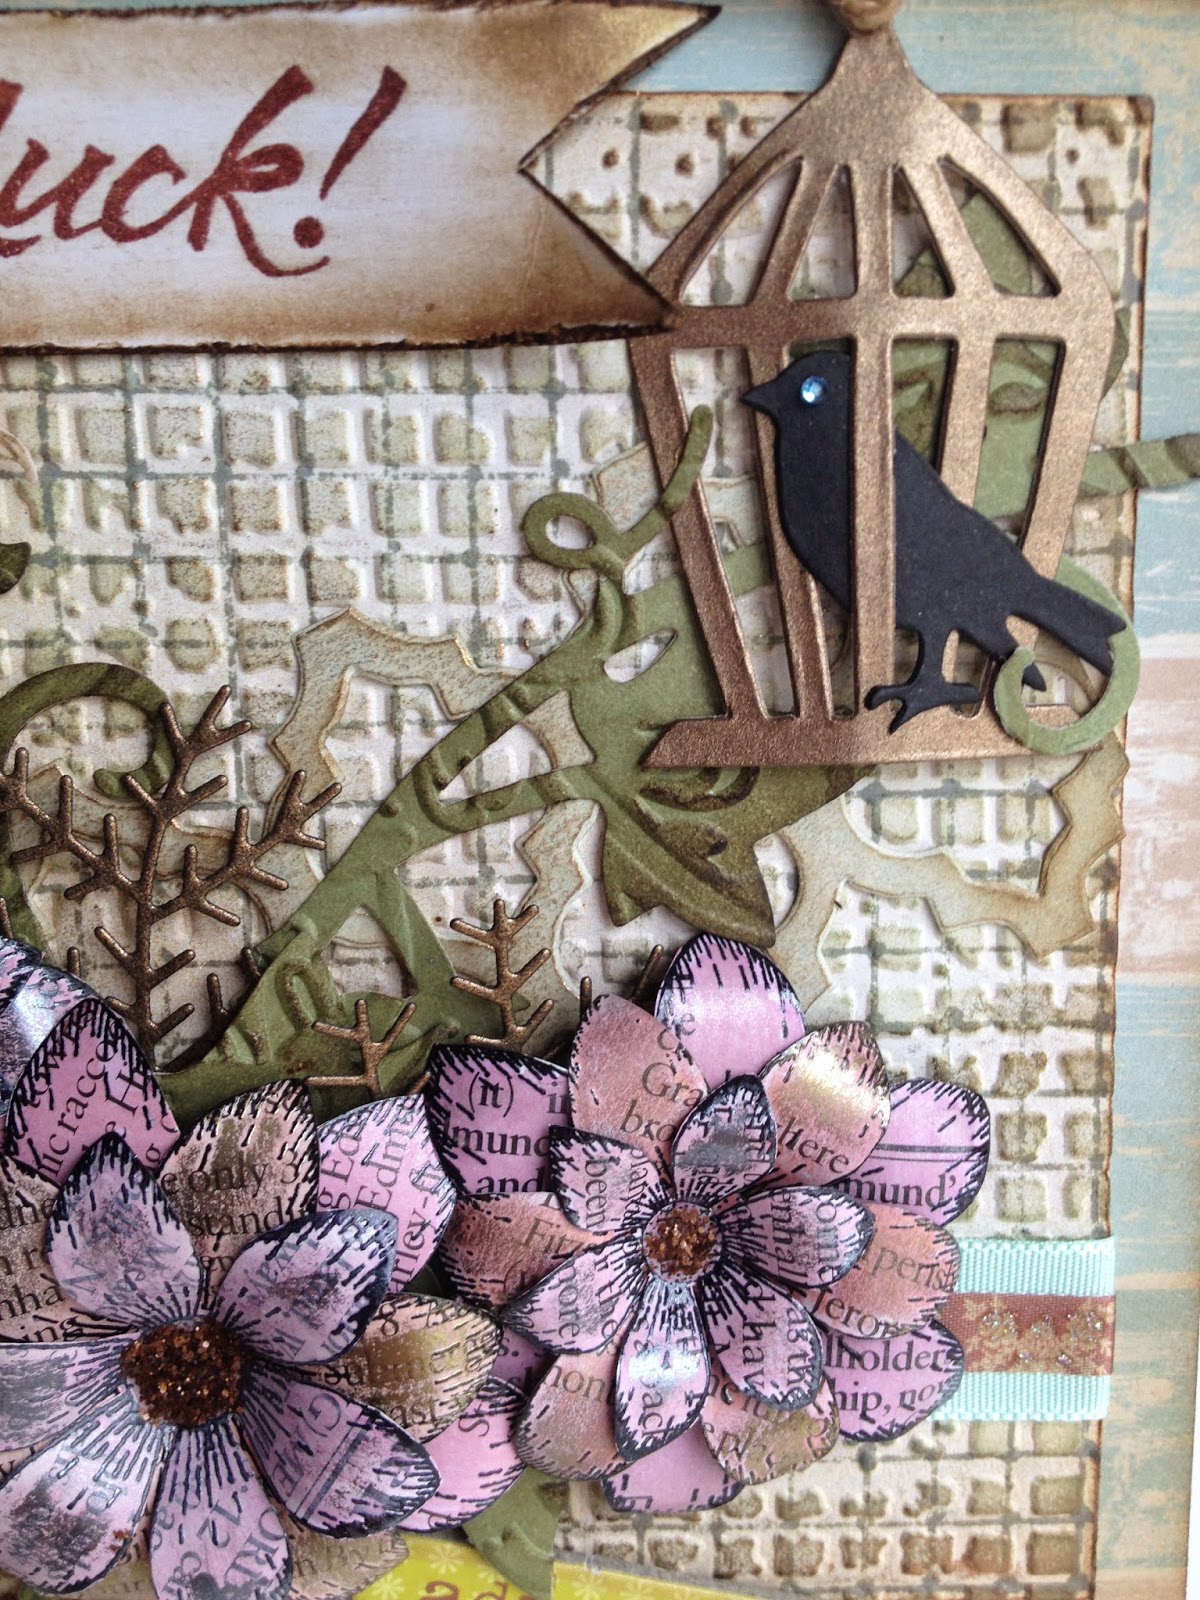
Firstly I cut a tag from theuver card and coloured the background by applying the distress stain to the craft mat, spritzing with water and swiping the tag through several times backwards and forwards.
I then applied the distress ink through the brick mask using a make-up sponge. Next I stamped the 3 Edelweiss at the bottom and the Cow Parsley to the edges. Once the ink was dry the grunge paste was applied through the Honeycomb stencil. This was left to dry for about 30 mins and the edges of the tag were distressed using a pair of scissors and then distress ink applied using a blending tool. The grunge paste will absorb the ink so more was applied to these areas.
The treasured gold wax was then lightly applied with my finger to the raised honeycomb areas and once dry buffed with a soft cloth.
I then added the glossy accents to the centres of the edelweiss.
Next stamp the word Imagine onto some card in the versa-mark ink and sprinkle with the clear embossing powder and heat. Lightly apply some distress ink so as to just colour the card slightly. Then place the brick stencil over the embossed image and apply ink with a sponge, once the ink is dry a light rub over the embossed image will make the word pop. This was then cut to size and the edges stamped with the cow parsley so as to tie the whole thing together.
The quirky gate was then stamped in the tumbled glass onto card and then cut out with a craft knife.
The cotton tape was coloured using the distress stain and ink onto the craft mat and sprayed with water, dragging the tape through the wet solution and scrounging it up as you go. This was left to dry in a bundle but you can dry it with a heat gun if you are in a hurry. This does stain the fingers slightly so not a job to do before going out for a nice meal!
Last component the heart, this I applied several layers if ink to and then sanded it between applications as I wanted some areas of shading. This took on a slightly greener hue where it had been sanded the most.
This was then embossed with clear embossing powder twice to give a glossy finish and a different texture.
Now it's down to sticking the parts together. the gate and the word plaque were both stuck on with pin flair glue as I wanted some height to these items, the bakers twine was threaded through the hole in the heart and then tied onto the tape at the top.
One tag and one ink pad, but using different textures and mediums you can achieve a range of colours.
Thank-you as always for popping by and I hope you all enjoy the rest of your Easter whatever you may be doing. Comments and messages are always appreciated and if you have any questions I will answer then asap. Take care and see you soon Jane x


