

To begin with I gave the MDF heart a coat of white gesso, the other items used were smooth white card, black card, cream coloured hammered card and white glossy coated card.

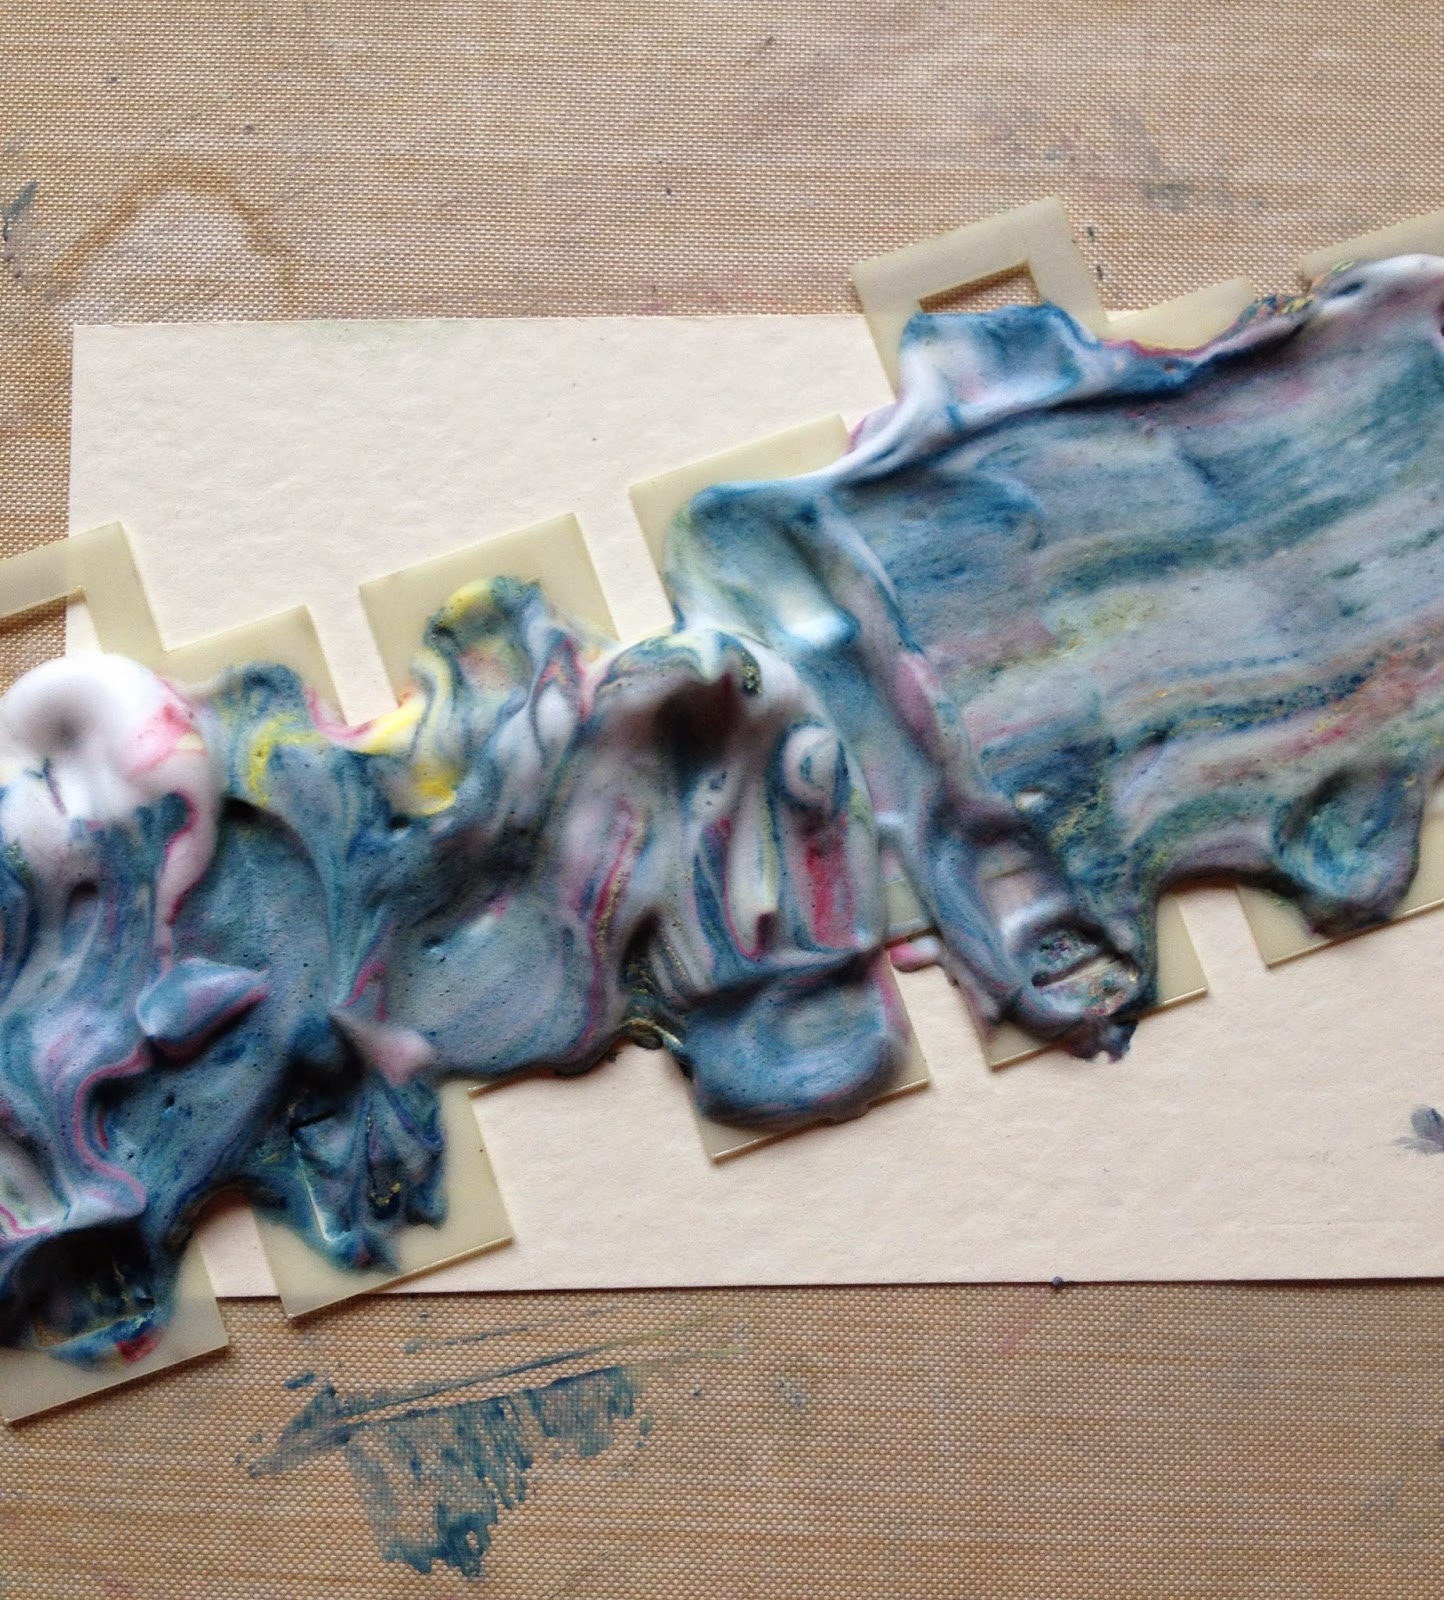
I sprayed some cheap shaving foam into a shallow plastic lid and added Baltic Blue, Claret, Zesty Zing and Guacamole fresco paint.

This was then swirled around with a wooden skewer. ( yummy)
First off a laid the MDF heart into the foam and lightly pressed down, took the heart out straight away and scrapped off the excess foam with an old credit card.

Nice!
Next I put in the black card and repeated the process.

Then I spread some of the foam onto the smooth white card and covered it with a piece of cling film and wriggled it about a bit !

This was left for a couple of mins to soak in. While I was waiting to scrap the foam from this one I decided to try making a ball of bubble wrap, dipping it into the foam and paint mix and dabbing it onto the glossy coated card stock.

I'm not so sure about this one --- maybe the paints were getting a bit muddy at this point, but I would give it another try sometime.
Next I grabbed the cream hammered card and a Tando Creative stencil and spread the foam mix through.
This was left for 2 mins before scrapping the excess off, then the stencil was carefully removed.

It was then left to dry which took about 10 mins.

Ooh like this a lot!!!
I looked at the foam and paint mix and felt it had formed a painty mess now so decided to scrap off the bulk of colour from the top, smooth over the top to make it level and add some more paint.
This time I used Pumpkin Soup, Claret and Snowflake and swirled it about like before. As I liked the effect through the stencil I went with that idea again, this time I used a reindeer which I stuck onto some smooth white card with masking tape and then pressed this into the foam mix.
On taking out I then scrapped off the excess but left the stencil in place foe 2 or 3 mins.

Love the odd touches of left over blue in the mix.
I then removed the stencil carefully and gave it a quick flash with the heat gun.

I really do like this one!!! It has got some depth and texture but it is still very smooth.
A big thank you to Lucy for the fantastic idea, I now need to clear up all the mess I've made, still it smells nice in the craft room now so that's a bonus!
Lunch is calling me now so I must away, I will enjoy using these backgrounds and will definitely explore these 2 mediums some more. Thanks as always for stopping by, I hope there has been something of interest to you and perhaps you will even give this a try like me.
Take care and enjoy your weekend, what's left of it! Jane x
Oh wow jane you have really embraced this challenge and made it your own! The bubble wrap idea was brilliant but that effect with the stencil is just amazing! Thank you so much for joining in and doing some experimenting,
ReplyDeleteLucy x
Fabulous!!!! I hadn't thought of trying it with stencils but totally love it!! Your deer is amazing!!!!
ReplyDeleteWhat great backgrounds from a fun and fab technique!
ReplyDeleteWonderful techniques and great effected. xx
ReplyDeleteOh my! The effect you have achieved is stunning!
ReplyDeleteWow! love these so much, especially the heart and the deer.
ReplyDelete