Sunday 29 November 2015

Christmas Cards using Masterboards

Hi, I hope your weekend has been going well, this afternoon I've been making some christmas cards using masterboards as a basis to work from. Over on the PaperArtsy Blog there is a brilliant video by Leandra showing how to create a masterboard and some wonderful examples on how to use them, to view the video etc click here.


For these I made 2 different colour combinations but still have plenty left to use on other projects.


The paints used for my first board are ; Evergreen, Toad Hall, Guacamole, London Bus, Inky Pool, Snowflake and a little Pewter to finish. These were all applied with a brayer.


I then stamped text from ESN 03 in archival watering, the hanging star from Jofy 06 in archival jet black and finally the swirl from Special Christmas plate 3 in snowflake paint.


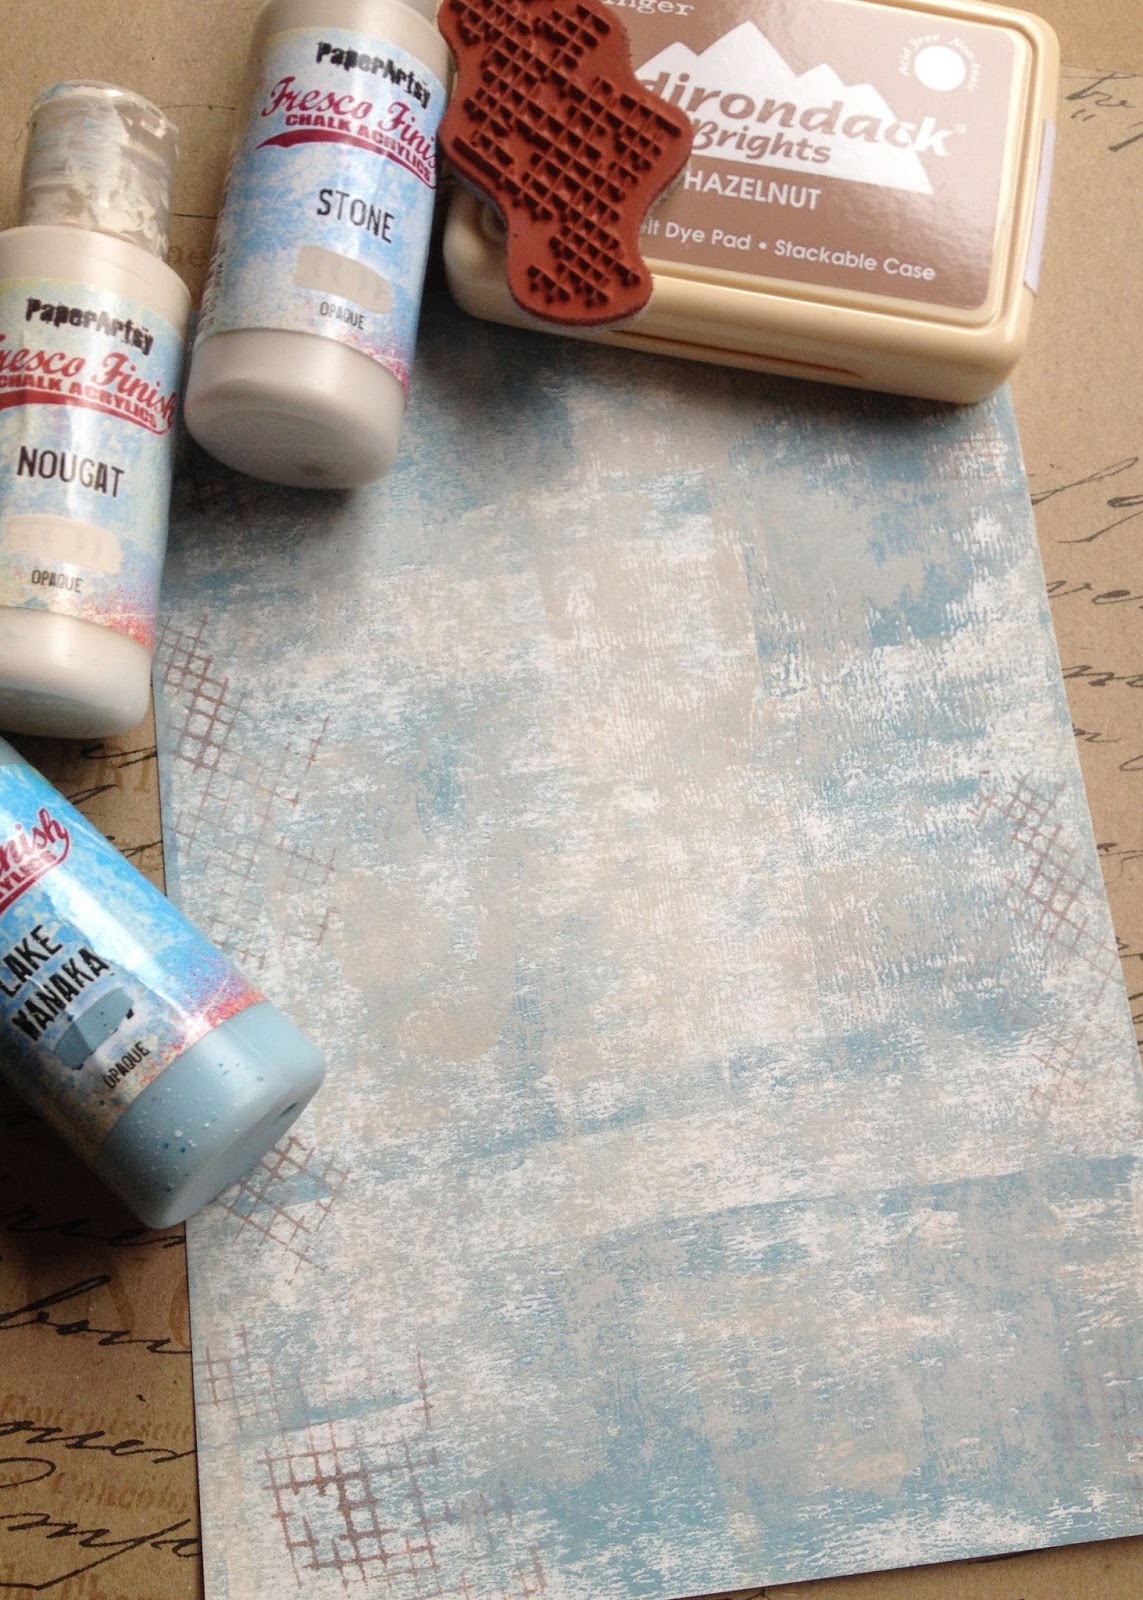
For my second board the following colours were used; China, Lake Wanaka, Beach Hut, Claret, Stone, Autumn Fire and Snowflake.


Then the design was created using T.H. Holiday Knit stencil with stone paint, the lines from Jofy 07 stamped in archival cornflower, noel from special christmas plate in archival watering can and finally the rings from HP1004 in snowflake paint.


For my first card I stamped the bunting from Jofy 07 onto my master board in versa-mark and white heat embossed.


This was cut out and the tassels were hi-lighted with a little Treasure Pewter.


The trees were stamped from the special christmas plate 3 and also white embossed. Stars were punched from trimmings after cutting out the trees.

I used the edging stamp from Jofy 06 for the bottom edge of the card.


For my second card I cut a piece of the master board and mounted it onto some burgundy coloured card. The star was stamped from Jofy 07 onto some kraft card , white embossed, cut out and then some Treasure Pewter was added. The white flower/tree from Jofy 38 was white embossed and then some glitter added. The MDF star was given 2 coats of gold embossing powder.


My final card which is my favourite out of the 3 repeats some of the 2nd card but uses the large flower from Jofy 38 ( which was one of my gifts from winning the blog challenge a few weeks ago and I love!) this was embossed using a clear glitter embossing powder and then hi-lighting with treasure Gold in Renaissance.


Bows, buttons, wire and hearts were added for detail but I felt they were all fairly quick and easy to make as it is sometimes too easy to get engrossed in making christmas cards and the time just vanishes. The next thing you know it's the last day for posting!!!

And on that note I shall away--- many thanks to PaperArtsy for the nudge into master boards, much appreciated. Hope you enjoy what is left of the weekend and many thanks for stopping by. Take care and all comments are much appreciated, Jane x


Monday 16 November 2015

Festive Heart

Good evening and welcome, hope your Monday has gone well so far. Today I would like to share a christmas heart I've made over the weekend using Lavinia Stamps and some lovely christmas fabric my daughter bought for me.


I started by stamping 'Believe' onto some natural coloured calico which had some iron-on interfacing on the back. This really stabilises the fabric when embroidering.


This was left for a couple of hours to ensure the ink was completely dry before stitching the outer edge of each letter.


Next I cut a heart from a scrap of card to use as my template to cut from the material. The calico was then stitched to the front of the heart before cutting to size and fraying the edges.

The heart was then stitched on the wrong sides, turned inside out and stuffed.

Using the smallest of the Lavinia snowflake stamps I stamped onto some frosted shrink plastic in archival watering can. This was cut out and a small hole made before heating and shrinking.


Thread was added and 2 brass bells.


The heart was finished with some grosgrain ribbon and a small satin ribbon bow.

I have made hanging hearts for decorations other years and they tend to all be on the traditional side but I am very pleased with how this has turned out and this fabric has so much detail printed on it, it's fab!

I would like to enter this for Lavinia's challenge 11 titled Christmas. To view the DT's inspiring samples and the other entries click here.

Thank you for stopping by and a big thank-you for all the lovely comments on my last couple of posts, they are very much appreciated.

Take care and have a good week Jane x


Friday 6 November 2015

'Winter Frost'

Hi and welcome, today has been a very wet and humid type of day so entering a piece for a challenge titled 'Winter Frost' seems a tad bizarre, but I'm sure it won't be too long before 'Jack Frost ' gets his brushes out!


This card I would like to enter for Crafty individuals November challenge, to view their DT's samples and the other entries click here.

I started by rubbing some charcoal onto a sheet of medium weight white card which was placed on top of a piece of material so as to gain some texture.


This was then stamped and heat embossed with platinum EP. I masked the very centre off so as to leave a clear space to then stamp the word Peace in ocean depth ink and then clear embossed. 


Some of the flowers and leaves were then coloured in using Distress Markers, glitter was added to some areas and a little Inka Gold in Platin.

The card blank and hand-made blue paper were cut using dies and all stuck with double sided tape.


I had stamped a spare piece of charcoal card so decided to cut-out and add a couple of flowers and leaves to give some depth to the piece.

Next I stamped the tags onto white card in versa-mark and heat embossed with white sparkle EP. These were then coloured with Distress Inks.


The christmasy embellishments were cut, stamped, glittered and embossed before attaching to the card.


It was not an easy piece to photograph to capture all the sparkly glitter.


But I was pleased with how it turned out and then made another in a different colour combination.


For these cards I used the following stamp sets from Crafty Individuals 443, 446 and 447.

Well there are fireworks being set off outside in peoples gardens and my dinner smells like it's ready so I shall away!

Have a great weekend, many thanks for stopping by and hopefully we will meet up again soon. Take care Jane x


Friday 16 October 2015

Oh No, Face Drawing!!!

Well Leandra you certainly know how to fill people with DREAD! Over on PaperArtsy's Blog the challenge this fortnight is Faces and I'm certain that I was not the only person who said out loud "No Way" but a challenge is a challenge after all-----
So I set to and watched various videos and I have to say the Dina Wakely's were for me the easiest to follow and encouraged me to put pencil to paper.


I decided to do a plain pencil drawing first to see how difficult it would be. Hmmm not too bad for the very first attempt since secondary school in the late 1960's.

Watched more videos and then made a background for my poor unsuspecting lady.


Not too dark Dina said!


Once I'd drawn the face in pencil I then decided ( or chickened out!) not to paint my face but to use charcoal instead.


I felt more comfortable with attempting the shading with the charcoal and I am very fond of the lovely texture it gives.


I added a little scattered straw DI to the edges which I felt added some warmth to the whole piece.

Well I'm pleasantly surprised with the finished piece, I know there are plenty of faults and I'm not really happy with the shape of the mouth but this time last week I would have said "I can't draw a face" so many thanks to Leandra and all at PaperArtsy for the challenge.

Hope you all have a good weekend and if you have a spare 15mins do watch Dina Wakely's videos as they are a brilliant place to start. Bye for now and take care, Jane x


Sunday 11 October 2015

Wearable Art !


Having just spent a few very relaxing days in Dorset I returned armed with a metal hair grip which I purchased in a wonderful craft shop in Dorchester called Frank Herrings ------ a crafters paradise, filled to the gunnels with everything imaginable from paint to spinning wheels, looms to Airfix kits! It's one of those shops that you need to go in several times as you don't see everything on the first visit.

Anyway back to the job in hand, I saw this hair grip and immediately thought of the Paperartsy blog challenge "Wearable Art ".
Click on the link to view a fab short video and all the other very clever entries here. 


I began by cutting 2 pieces of crunchy waxed kraft paper using a paperArtsy die, then I applied various layers of translucent paint. Next I stamped one with a text stamp and embossed in copper and the other using the larger stamp from set HP1004 which was stamped in black and then clear embossed. These were both scrunged up to form the flower shape.
Grunge paper was then painted with the 2 greens, stamped in black using the larger leaf from Jofy 15.
A thin leather flower was cut using a die and the flower centre was made from crocheting some jewellery wire and adding some tiny beads.

The hessian was frayed and slightly gathered before sewing onto the clip. I then added another layer of printed material for texture before attaching the flower and leaves.


The reason I chose the crunchy waxed kraft paper for this was that if the flower becomes flattened after wearing it can then be re-shaped.


This would show up more on someone with darker hair than me --- ( not easy photographing your own head!) This is perhaps not as adventurous as some entries but I had fun making it, and it was good to get back into the craft room and play again.

Thanks for stopping by and if you have a spare 5 mins do pop over to the PaperArtsy blog and see the other fab creations.
Take care and have a good Sunday, whats left of it! Jane x


Monday 14 September 2015

Mixed Media Heart

This afternoon I've been putting the final touches to a mixed media heart I started yesterday, and I would like to enter this for Crafty Individuals bi-monthly challenge titled "Anything Goes in September". If you have 5 minutes do pop over to their blog and view the other entries and perhaps enter yourself. Crafty Individuals


I started with a large Tando Creative heart which had a base coat of Fresco Acrylic paint in Stone, then once dry the righthand edge had a coat of Evergreen. This was then followed by a coat of Weathered wood crackle medium just on the green paint, once dry the heart was given another complete coat of Stone.


Next I added some tissue tape to the top curves and stamped CI 430 on the righthand side in Versa-Magic Ocean Depth. This was then embossed with clear powder. A hole was drilled in the middle for threading ribbon through later.


Then using a 3ply napkin I painted one of the medallions in London Bus and Inky Pool, tore around the edges and peeled away the 2 bottom layers.


This was then attached to the heart with matt medium. The edges of the heart were then inked using Versa-Magic Sea Breeze.


I tore a piece of patterned paper of similar colour tones and attached a small piece of lace underneath on the right-hand side. Added some grunge paste through an alphabet stencil and once dry applied some Inka-Gold in Platinum.

The bee was stamped in black ink and clear embossed, colour was added to the body using haystack paint. Odd areas around the edges were touched with the Inka-Gold as well.


Using CI 005 I stamped this once on white card in Ocean Depth, twice on mottled orange card in Archival Watering Can and then clear embossed and finally the ticket area was stamped onto a card ticket in black ink.

Next I stamped the Jolly Duck from CI 433 in Archival Jet Black onto Shrink Plastic, once dry colour was added to the underside using Promarker pens and then cut out with scissors. This was then heated  to shrink with a heat gun ------ oh I do think he is adorable!


He was then mounted onto a small white tag.

The flowers were stamped in black onto some card I'd coloured with various paints using CI 206, and then cut out and shaped before attaching to the heart with Pinflair glue.

The butterfly was cut from the 2 stampings so as to layer the wings, an old dipping pen nib was attached for the body. A button was placed where the stamped one was on the card.


Well that's all from me tonight, hope you all have a lovely evening and hopefully we can meet here again soon. Take care  Jane x


Thursday 10 September 2015

Hot, Bright Colours

Hello, and welcome, today Ive been making a card which I would like to enter for Lavinia Stamps challenge titled 'Hot, Bright Colours'. To view their DT's beautiful samples and the other entries click on the link Lavinia.

                          All the stamps used in this project are from Lavinia Stamp's range.


To begin with I coloured some smooth white card with various colours of Fresco Chalk Acrylic Paints.


I love the texture you get from using the brayer as opposed to brushes.


Next I stamped the edges with the flower border in Archival Watering Can and then brushed with Cosmic Shimmer's Iridescent Mica in Black Pearl.


Using some of the spare card that had been coloured I stamped the border on the edge and the Fairy words which were embossed with clear powder.


Then using Treasure Gold in Ruby, lightly rubbed the embossed words. This was then cut out with a die and a corresponding one cut in a deep red. A small metal flower was threaded and knotted to add dimension.


Next I made a mask for the bottom edges so as not to over stamp the border.


To get a thin edge I tore the stamped outline, this prevents a gap forming when stamping the main images.

The flowers, and pixies were stamped in Versa-fine Onyx Black, the poppies were then embossed using clear powder. The small slender mushrooms were stamped in Brilliance Pearlescent Copper  (these don't show up particularly well in the photo) and Stickles were added for fairy dust.


I made 2 holes in the corners of the bottom border and threaded some fancy yarn before mounting onto glossy black card.


I was really pleased with the contrast of the border on the painted card and I'm now thinking of using this colour combination for some Christmas cards. Oh gosh it's that time again!


Thank you for stopping by today, I hope it has given you some food for thought/ ideas. All comments  are read and very much appreciated. Take care and have a good weekend when it arrives, Jane x