Showing posts with label Paper Artsy Grunge Paste.. Show all posts

Tuesday, 18 August 2015

Exploring Gels and Mediums

Hi everyone, hope alls well with you. Today I'm going to share with you my first time of using Golden Heavy Gel Gloss and also Studio Multi-Medium Gloss. I have have a small pot of each for several months but didn't really know much about their qualities or uses, so when PaperArtsy introduced their fortnightly challenge titled 'Gels and Mediums' my ears pricked up.
To view some great videos and samples click on the link to take you straight to their blog here.


I was really inspired by Lin Browns makes using the gels and pastes through stencils so it was off for an inky, painty session.

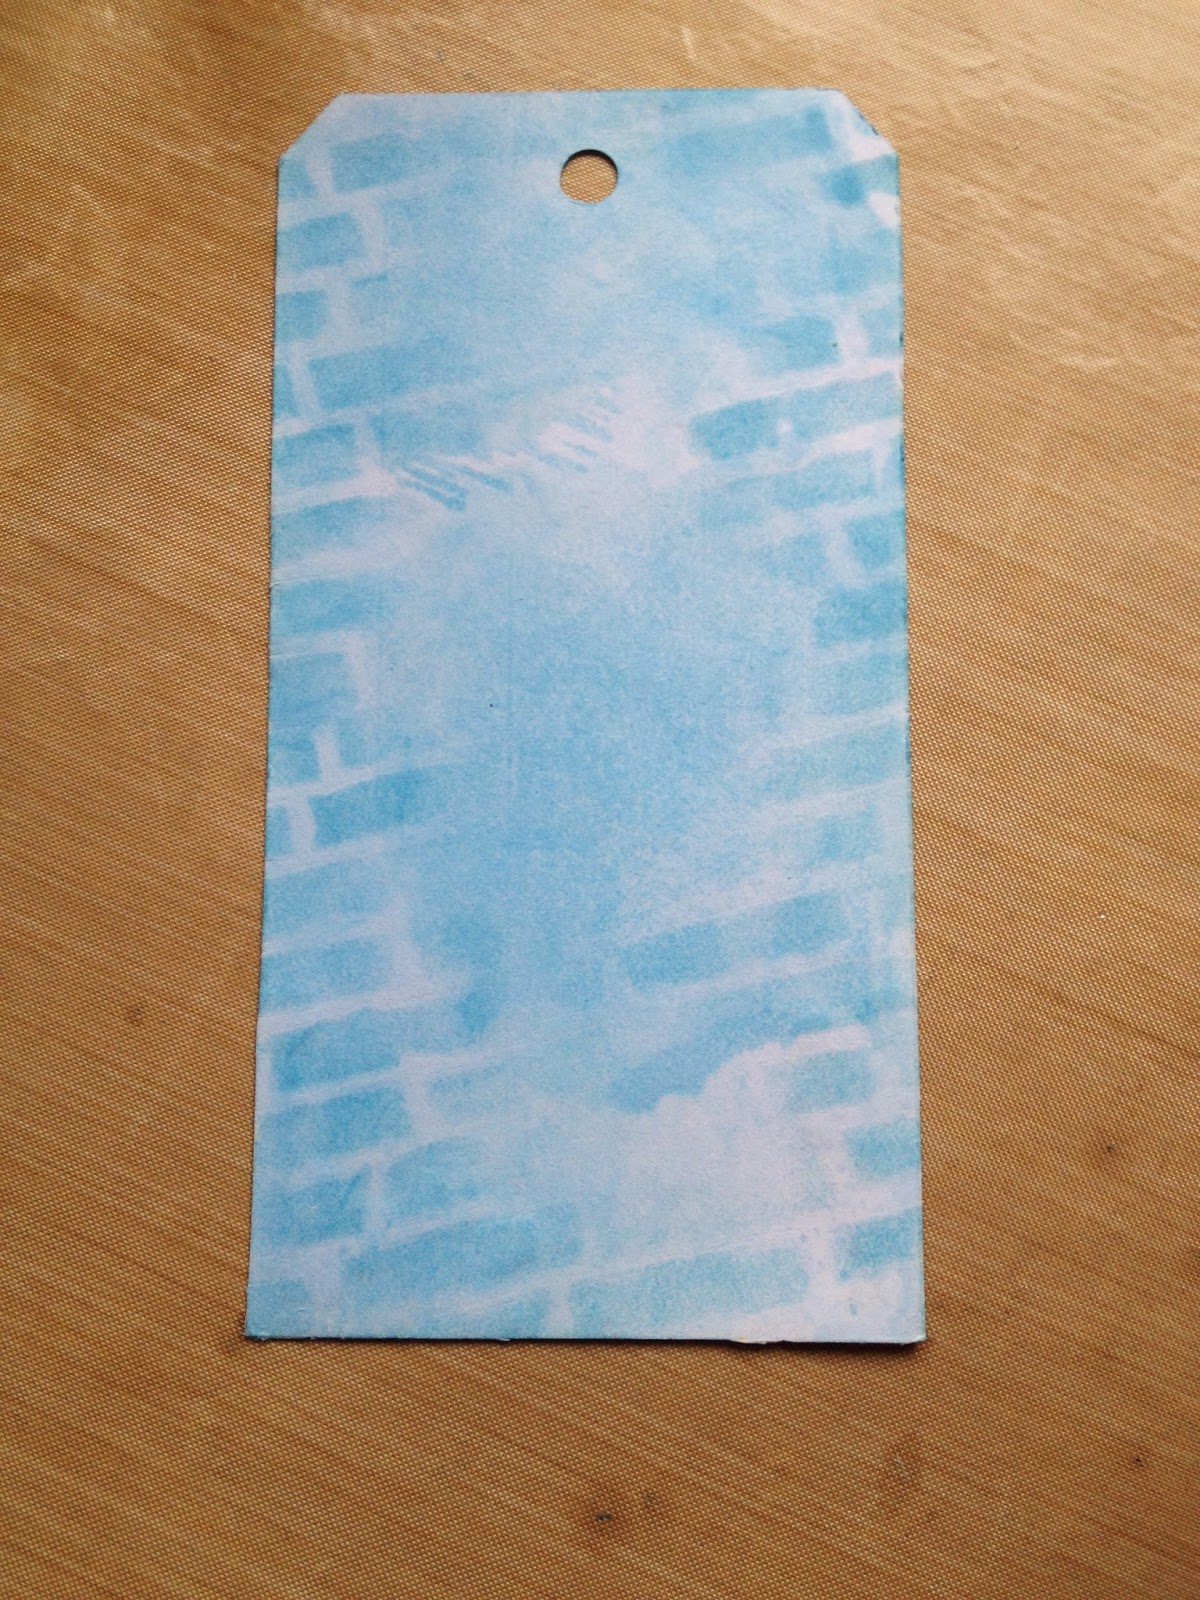
First  I started with spreading the heavy gel-gloss through Imagination Crafts Wisteria stencil and grunge paste through Clarity's Poppy stencil. Once dry I started the spraying process using watered down Fresco Chalk Spanish Mulberry in a spritzer bottle and Cosmic Shimmer Mist in Antique Green and Twilight black.


This I did in 3 layers gradually building up the colour and texture.


On the final layer I also sprayed Perfect Pearls Mist in Blue Patina.


Areas were hi-lighted with Treasure Gold in Sapphire and Renaissance.


Not easy to photograph but I love the smooth glossy texture of this gel.

Now back to the poppies. I started by giving them a spray with C.S.M. in Plum Twist.


I was surprised at how this absorbed the colour compared to the gel. Then I replaced the cleaned stencil and added some Studio Multi-med gloss to some of the petals. Once dry continued building up the layers with Plum Twist, Lava Red and Marigold.


The slightly darker petals are where the multi-med gloss is.


On the top of the tag I added a little Americana Staining and Antiquing Medium with my finger to smudge the micas together. Artful Blooms was stamped and white embossed.


Treasure Gold in Olive Bronze was added to the stems and leaves.

Ok now I'm hooked so I went onto making a 3rd tag!


This time I used Dreamweaver Translucent Embossing Paste through Tim Holtz Holiday Knits stencil. This took the longest to dry. I added colour with a brush and my finger with the staining medium mixed with Fresco Chalk paints in Tikka, Chutney, Pea Coat and Evergreen.


I love how the paints blend in when mixed with a medium.


To finish I made a mix of 50/50 of Satin Glaze and Metallic Glaze but only added this to small areas as I wanted some parts to still be matt.

Well I've had great fun and also learnt loads about these products so a massive thanks to Leandra and all at PaperArtsy for this great topic.
Thanks as always for stopping by and I hope you all have a great week. Take Care Jane x


Sunday, 20 April 2014

Monochrome Tag

Happy Easter Sunday to one and all, it's a really dark damp day here in Kent so I've spent some time in the craft room. We've had heavy rain and claps of thunder so typical weather for Easter. Anyway todays offering I'd like to enter for Clarity's monthly challenge titled Monochrome. For this I have used Distress ink and stain in just the Tumbled Glass.


ITEMS USED
Distress ink and Stain in Tumbled Glass
Brick and Square Honeycomb Stencil by Clarity
Stamps by Clarity; Word chain no 5, Edelweiss, Cow Parsley and Quirky Gate
Grunge Paste
Theuver Card by Clarity
Glossy Accents
Versa-mark ink pad
Clear Embossing Powder
Small mdf heart
White cotton seam binding
Bakers  Twine
Treasure Gold in Sapphire


Firstly I cut a tag from theuver card and coloured the background by applying the distress stain to the craft mat, spritzing with water and swiping the tag through several times backwards and forwards.


I then applied the distress ink through the brick mask using a make-up sponge. Next I stamped the 3 Edelweiss at the bottom and the Cow Parsley to the edges. Once the ink was dry the grunge paste was applied through the Honeycomb stencil. This was left to dry for about 30 mins and the edges of the tag were distressed using a pair of scissors and then distress ink applied using a blending tool. The grunge paste will absorb the ink so more was applied to these areas. 

The treasured gold wax was then lightly applied with my finger to the raised honeycomb areas and once dry buffed with a soft cloth.


I then added the glossy accents to the centres of the edelweiss. 

Next stamp the word Imagine onto some card in the versa-mark ink and sprinkle with the clear embossing powder and heat. Lightly apply some distress ink so as to just colour the card slightly. Then place the brick stencil over the embossed image and apply ink with a sponge, once the ink is dry a light rub over the embossed image will make the word pop. This was then cut to size and the edges stamped with the cow parsley so as to tie the whole thing together.


The quirky gate was then stamped in the tumbled glass onto card and then cut out with a craft knife.

The cotton tape was coloured using the distress stain and ink onto the craft mat and sprayed with water, dragging the tape through the wet solution and scrounging it up as you go. This was left to dry in a bundle but you can dry it with a heat gun if you are in a hurry. This does stain the fingers slightly so not a job to do before going out for a nice meal!

Last component the heart, this I applied several layers if ink to and then sanded it between applications as I wanted some areas of shading. This took on a slightly greener hue where it had been sanded the most.


This was then embossed with clear embossing powder twice to give a glossy finish and a different texture.


Now it's down to sticking the parts together. the gate and the word plaque were both stuck on with pin flair glue as I wanted some height to these items, the bakers twine was threaded through the hole in the heart and then tied onto the tape at the top.


One tag and one ink pad, but using different textures and mediums you can achieve a range of colours.

Thank-you as always for popping by and I hope you all enjoy the rest of your Easter whatever you may be doing. Comments and messages are always appreciated and if you have any questions I will answer then asap. Take care and see you soon  Jane x